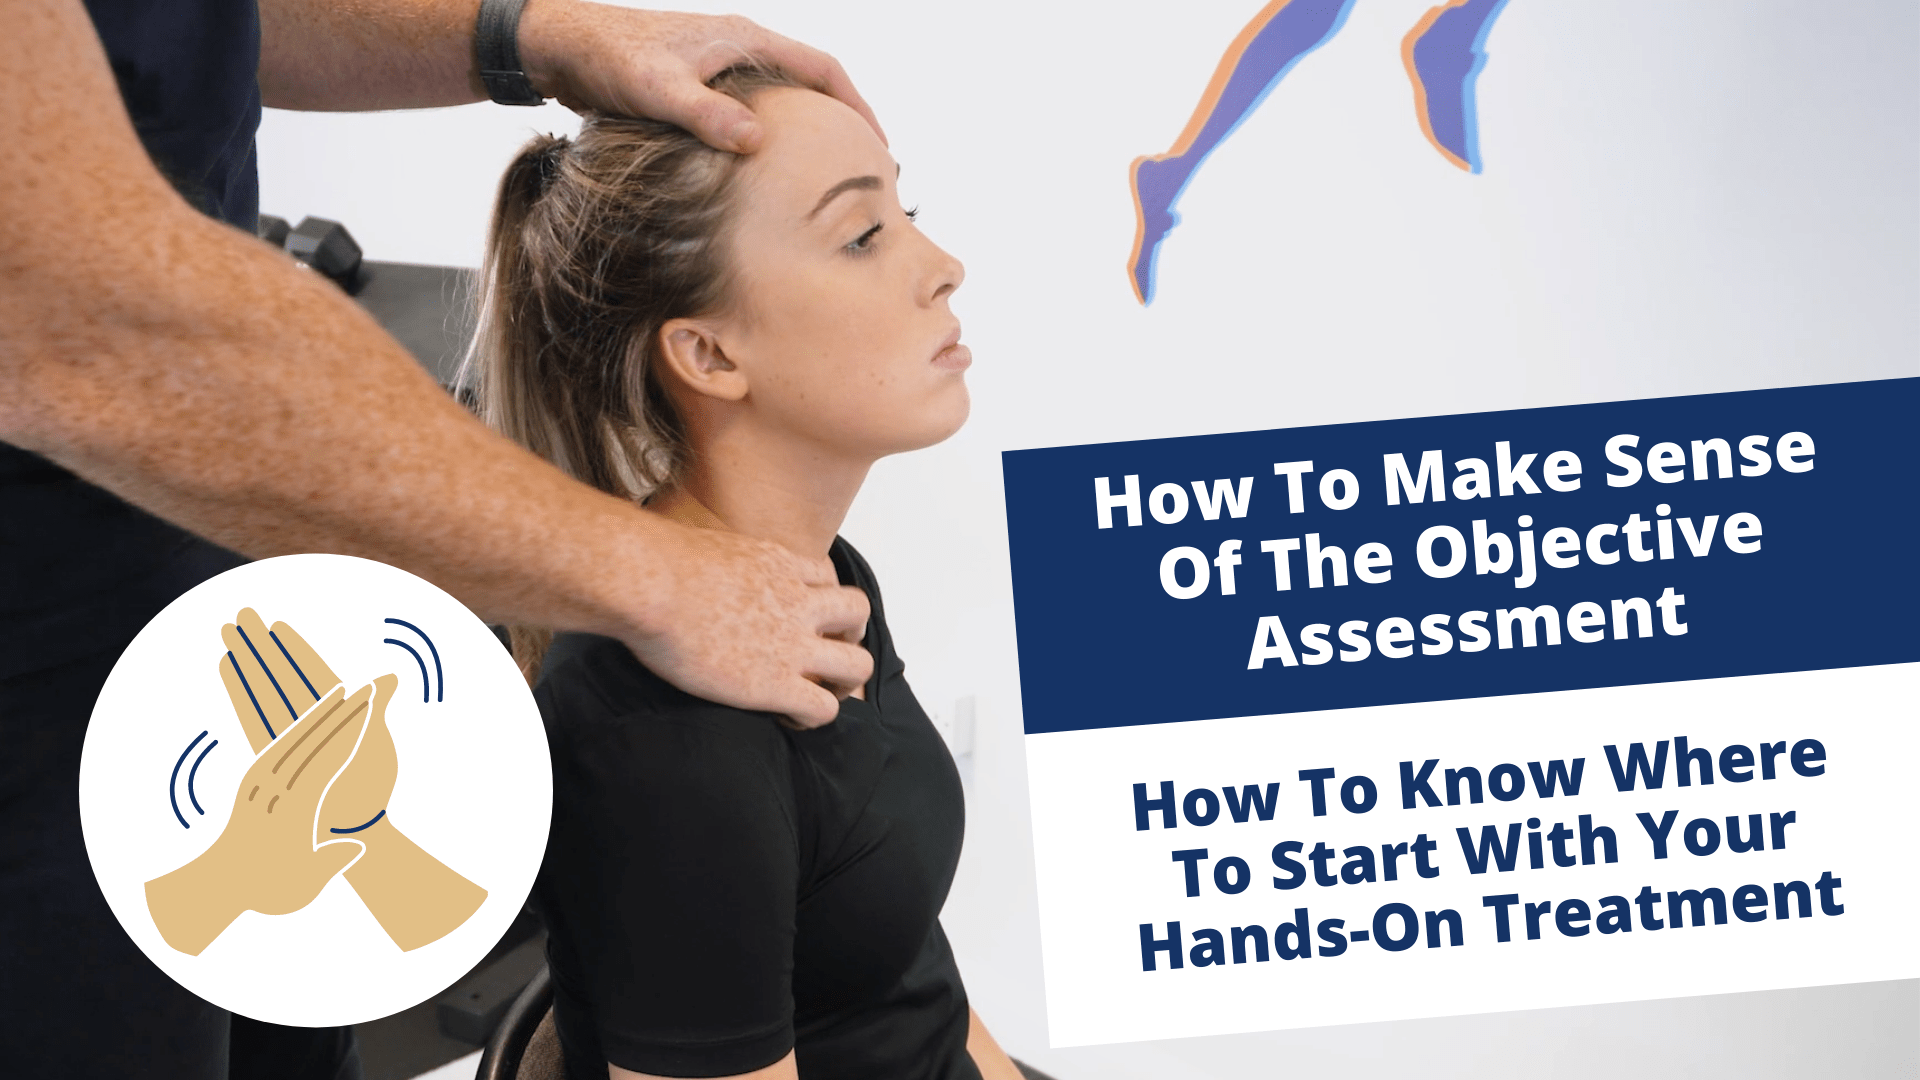
How To Make Sense Of The Objective Assessment (Part 2) – How To Know Where To Start With Your Hands-On Treatment
Part 1 of ‘How To Make Sense Of The Objective Assessment’ gave a key overview of your objective assessment and our ‘3 layer approach’.
You’re beginning to make sense of your patient’s story, your assessment findings and build on your initial hypothesis. Now it’s time to move on and get to know how to use your passive assessment.
You have an idea of some peripheral tissues that are contributing to the pain experience that would make sense from the subjective story also, it is time to find some further adaptations laid down by the nervous system.
Before we get into the passive assessment, one of my biggest pieces of advice that I want to give you that was a game changer for me is to avoid treating the first adaptation you see.
For example, if there is decreased hip flexion and internal rotation, yet no ‘reason’ for this in the history, then this may simply be an adaptation to the true stressor.
When you desensitise the true stressor, very often this hip range of motion will be restored very quickly without you needing to actually treat it.
Remember, looking at the body and being ‘holistic’ isn’t about treating EVERYTHING; it is simply about working SMARTER and not HARDER.
In saying that, if there is a reason for the protective response of a joint, such as pain or trauma, you can use selective tension and various positions to clinically reason which tissues would be a priority to desensitise rather than just throwing everything at it and hoping for the best.
REMEMBER, work SMARTER NOT HARDER.
APPLIED EXAMPLE: A patient is lying supine and you are passively testing their hip flexion. They report a ‘pinch’ in their groin at 90 degrees with an abrupt end feel. Rather than worry about pathological changes just yet, you would be further strengthening your hypothesis that the passive tissues around the pelvic floor (indirectly via the diaphragm’s inability to lengthen also) may not be lengthening.
We can then test this by getting the patient to perform a prolonged exhalation and hold their breath at the END of the EXHALATION phase and retest the hip flexion.
If the hip flexion range of motion dramatically improved then this would further strengthen our hypothesis that the pelvic floor may be a main contributor to this back pain or whatever the clinical presentation is.
Other tissues that come to mind if the exhalation did not improve the hip flexion may be the gluteus maximus tissues or adductor magnus, but, again, this would be cross-referenced with the patient’s story and the first part of the objective assessment.
***IMPORTANT*** At this point of the assessment you are zoning in on particular tissues to influence positively with your hands-on or hands-off treatment techniques rather than just throwing an elbow in the glutes or ‘QL’ and ‘hoping for the best’.
You have a working hypothesis that some tissues may not be absorbing load efficiently related to adaptations to previous injuries or indirectly via a sensitised respiratory system.
The starting point for the patient in the above applied example may be some respiratory desensitisation techniques designed to mobilise and restore the diaphragm and pelvic floor’s ability to move through a full range of motion.
Another great way to clinically reason is to see the difference in hip range of motion supine versus prone.
Certain tissues such as the adductor magnus, for example, will be lengthening in supine while shortening in prone. The difference in gross range of motion between supine and prone would allow us to clinically reason which tissues may be contributing to the reduced range of motion.
If there is a reduced range of motion in supine for example, then the adductor magnus tissues would be one such tissue we’d be interesting in examining further whereas if the prone range of motion was reduced, then the hip flexor tissues are of more interest as these are lengthening in prone while the adductor magnus tissues are in a shortened position.
Once we go through these interventions, either directly with hands-on treatment, or hands-off with respiratory desensitisation techniques, then the hip range of motion may be restored and we can now focus on the other tissues that are not absorbing load efficiently. We cover how to do this in pillar 6 of the Go-To physio pillar system.
True story: during the initial years I was getting some very good results just using steps 1-3 in our ‘3 layer approach’ as my assessment.
I was able to help patients become pain-free when jumping off the bed at the end of a session. However, they would come back after a few days or a week later with the pain returning. It was then that I realised I was missing a step in my system.
What you know at this point of the assessment is which tissues have RESPONDED/REACTED/ADAPTED to some perceived threat from the nervous system, but it does not tell you WHY these tissues have reacted in this way.
Move on to part 3 of our objective assessment series to find out WHY and learn more about the final step in our ‘3 layer approach’.


